Share this post
Let us learn how to make Traditional Rajasthani Dal Dhokli.
Dal Dhokli is very easy to make at home, it looks very tasty.
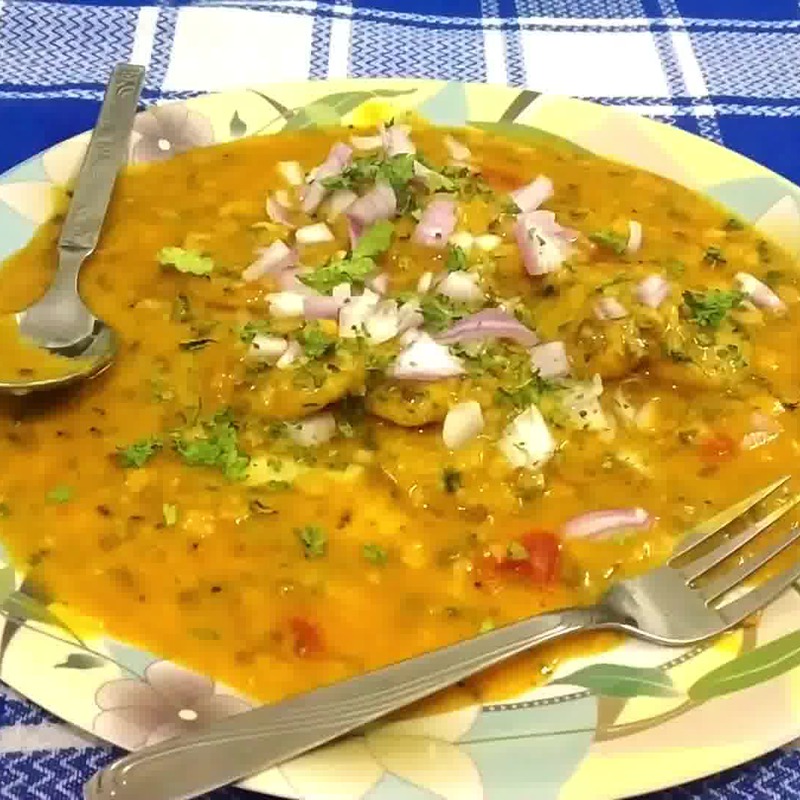
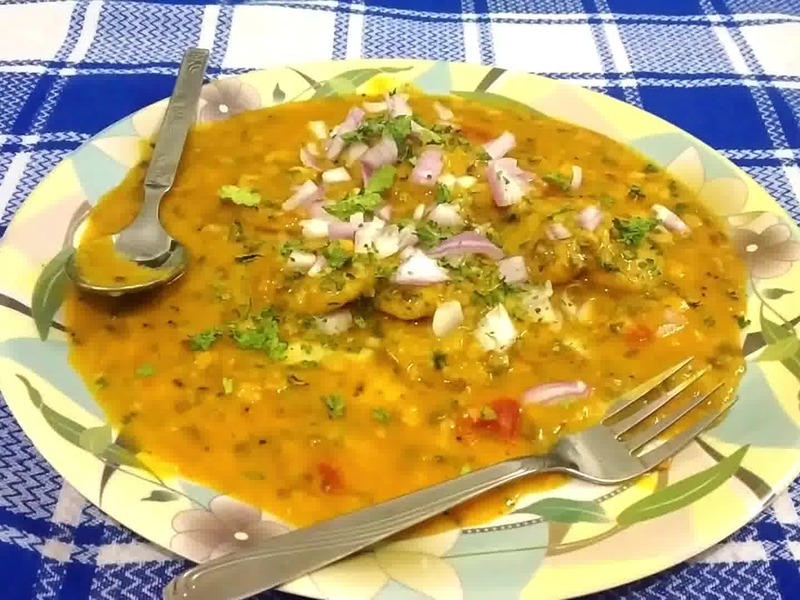

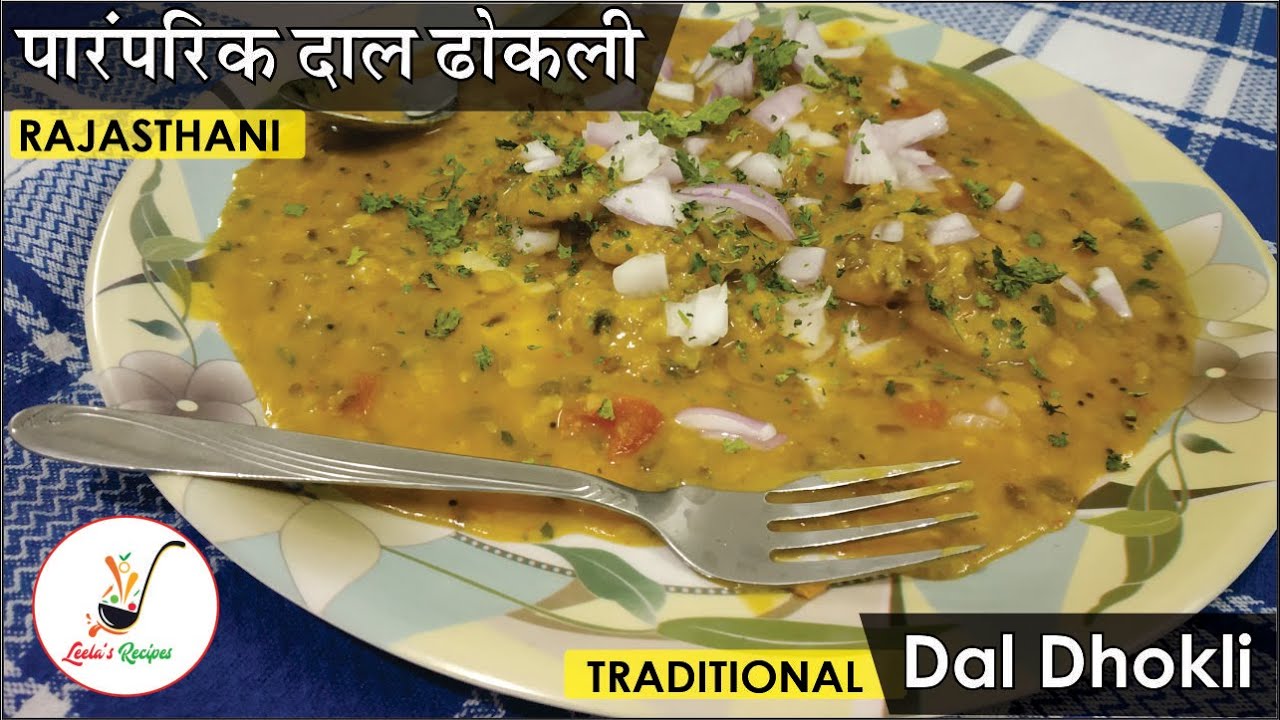
Dal Dhokli (Rajasthani Traditional Dish) [Recipe]
Traditional Rajasthani Dal Dhokli is very easy to make at home and is very tasty and nutritious.
★★★★✰
(Rating: 4.9 from 4 reviews)
★★★★✰
(Rating: 4.9 from 4 reviews)
| Prep time ⏲ | Cook time ⏲ | Total time ⏲ |
|---|---|---|
| 40 mins | ||
| Category 📚 | Cuisine 🍴 | Serves 👨🍳 |
| Breakfast | Indian | 4 |
| Nutrition Info 📜 | Serving size 🍕 | |
| 355 calories | 1 |
INGREDIENTS
For Dal Dhokli
- Urad Dal - 1/2 Bowl,
- Toor Dal - 1/2 Bowl,
- Moong Dal - 1/2 Bowl,
- Chana Dal - 1/2 Bowl,
- Wheat Flour - 1 Big Bowl,
- Besan - 2 1/2 tbsp,
- Red Chilli Powder - 1 tsp,
- Turmeric Powder - 1/2tsp,- 1 tsp,
- Ajwain- 1 tsp
- Saunf Powder - 1 tsp,
- Ginger Garlic Green Chilli Paste - 1 tsp,
- Kasoori Methi - 1 tsp,
- Dried green coriander leaves - 1 tsp,
- Salt - as per taste,
- Curd - 4 tsp,
- Hot oil - 2 tbsp,
- Water - as required.
For tempering:
- Oil - 2 tbsp,
- Mustard - 1/2 tsp,
- Cumin - 1/2 tsp,
- Chopped Onion - 1,
- Green Chilli Ginger Garlic Paste - 1 tsp,
- Chopped Tomato - 1,
- Red Chilli Powder - 1,1/2 tsp,
- Turmeric Powder - 1/4 tsp,
- Coriander Powder - 3/4 tsp,
- Salt - as per taste,
- Water - 1 tbsp for cooking seasoning
- Garam Masala 1/2 tsp,
- Chopped Onion, Coriander Leaves, Ghee, Lemon Juice (For Garnishing)
INSTRUCTIONS:
For making Dal Dhokli
- Mix all the Dals and wash them thoroughly with clean water. Put water in the cooker on the gas and put it in it and also add a pinch of asafoetida and ginger garlic green chili paste . It tastes very good.
- Turn on the gas and let the dal mixture boil.
- Now sieve wheat flour and gram flour in a vessel, and mix all the spices, oil and curd in it and mix the flour mixture well.
- After adding a little water, knead the dough. After that, make small balls from the dough and flatten them.
- Put these little balls in the boiling dal mixture, and let it cook open for 3-4 minutes. After that, close the lid and cook for one more whistle and then turn off the gas.
- Now to make tadka (tempering) for dal dhokli. Put two tablespoons of oil in a pan on the gas. When the oil is hot, add mustard seeds, cumin, ginger and garlic paste, chopped onion, chopped tomato, and all the dry spices. Add a little water and roast the spices well.
- Now put the roasted spices in the dal dhokli inside the cooker and let it boil well for 2-3 minutes so that our tempering mixes well in the dal dhokli and then turn off the gas.
- Now we will take it on a plate and decorate it with chopped onion, lemon juice and some coriander leaves.
- Our tasty hot Rajasthani Dal Dhokli is ready to be served.


WATCH VIDEO:
NOTES AND TIPS:
- No notes.
Author: Leela
Recipe Source Link: https://www.leelasrecipes.com/dal-dhokli/
Date Published: 2021-09-16
If this recipe helped you, then please spread the word by sharing and subscribing to us on YouTube to get more such Recipe Videos.
Your feedback is so helpful for me and other Leela's Recipes readers. So, for Facebook and Instagram, please mention @leelasrecipes or #leelasrecipes. I would love to see your photos. :)